
Clearfox Windows · Planning guides
Window reveal and trim restoration
By JR Digital Services editorial team · Published 6 November 2026
Swipe tables sideways to see every column.
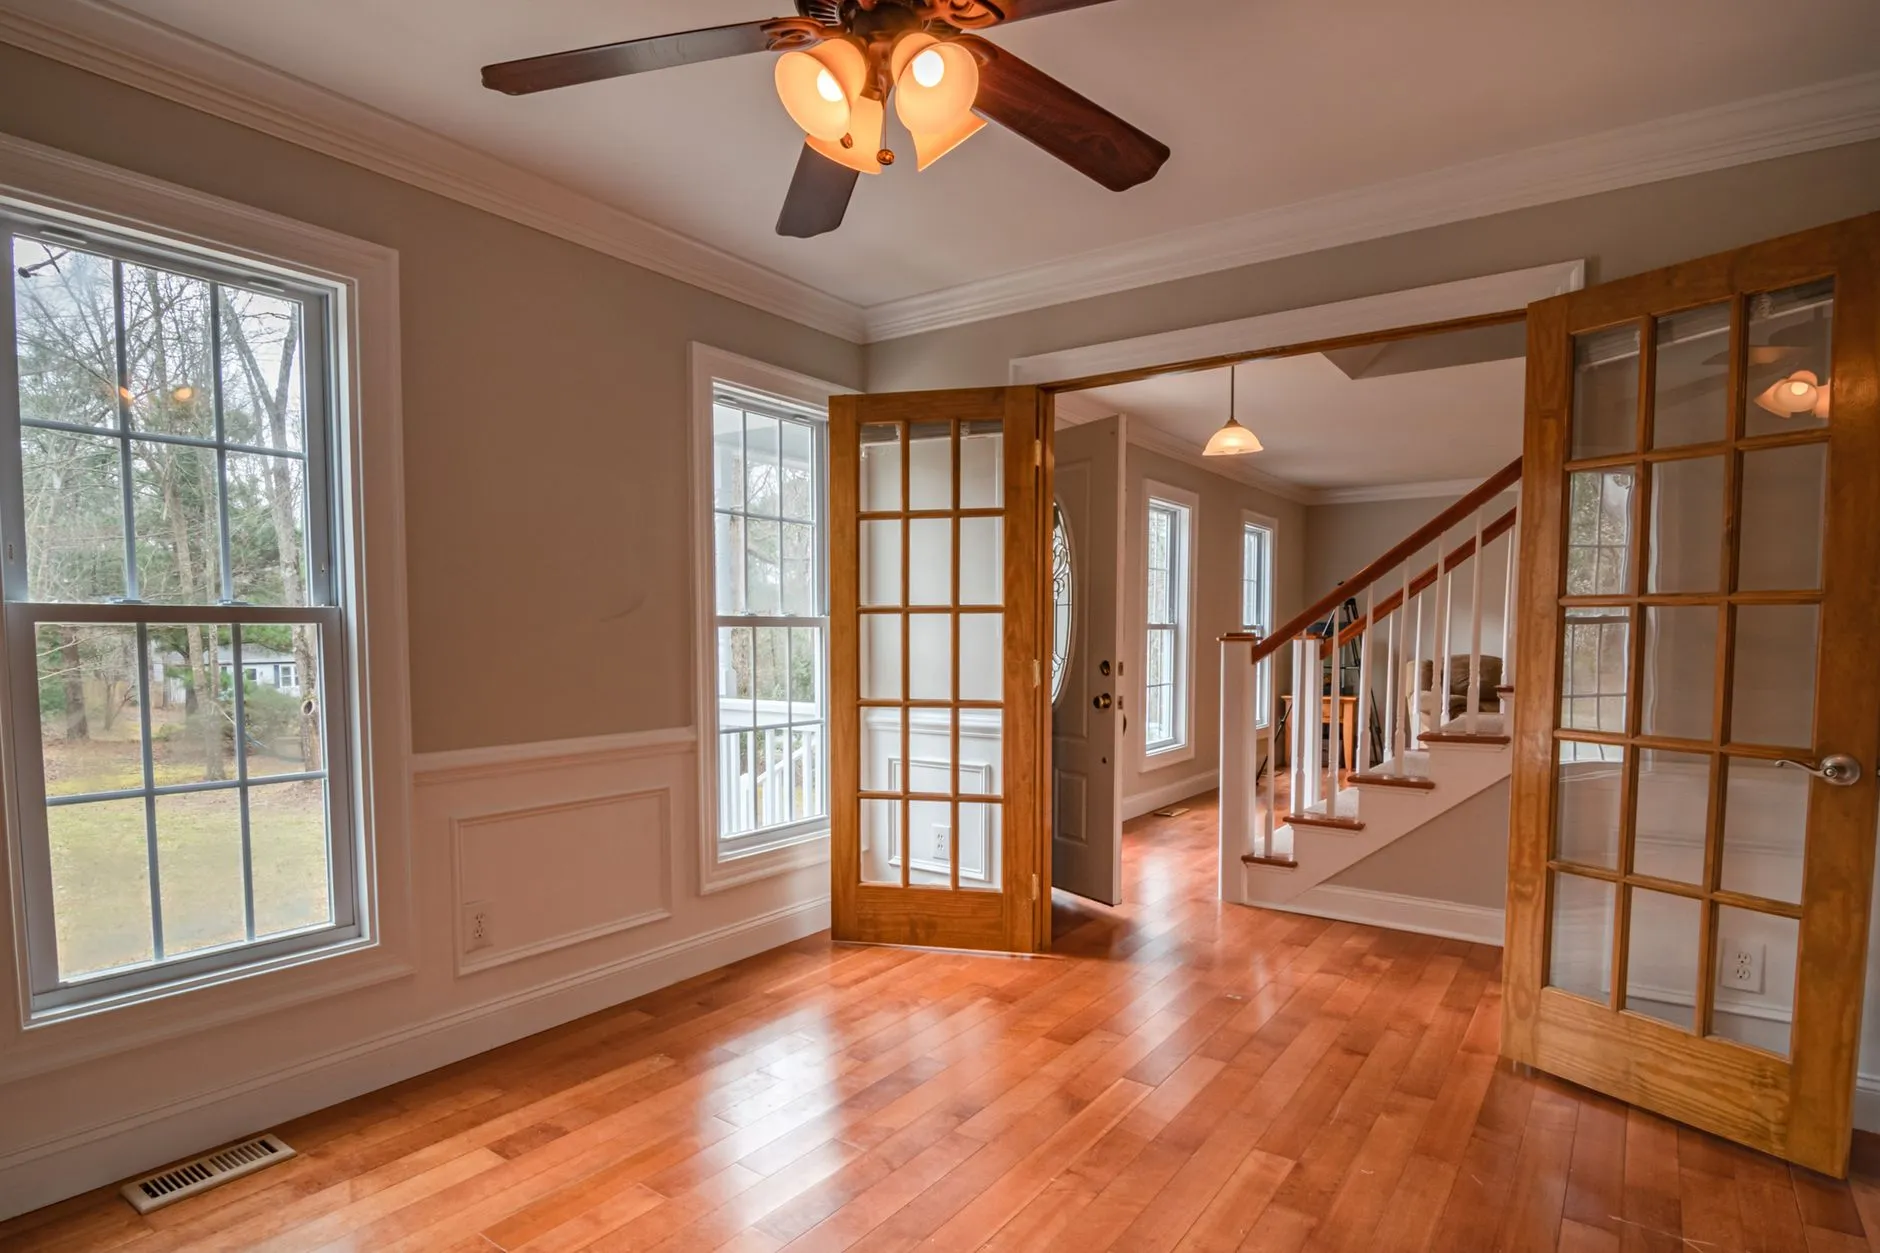
Illustrative stock photograph, not a local project or provider’s work. Photo: Curtis Adams. Pexels License.
Ask the proposed installer to explain the frame installation, flashing and weatherproofing scope, alongside any internal reveal, architrave, render or painting restoration. Clarify the agreed responsibilities and applicable requirements before installation day rather than assuming that every finishing task is included or excluded.
What reveals and architraves actually are
The reveal is a timber or other lining around the depth of a window opening; ask the supplier to identify the reveal components in the proposed system. The architrave is the decorative trim that covers the joint between the reveal and the internal wall lining. Both sit at the boundary between the structural opening and the finished interior.
In the AGWA Guide to Residential Installation — the peak industry document for Australian window installation practice — reveal fixing is described as part of the structural interface: frames are secured by screwing through the reveal into the stud work, and reveals themselves are fixed to the stud frame and lintel at specified points. The guide distinguishes this structural reveal from cosmetic finishing work that follows.
This matters because the reveal and architrave can be disturbed, damaged or left with surface gaps during removal of an old window and insertion of a new one — regardless of how carefully the work is done. Older paint lines, shadow gaps and fixing holes are common artefacts of replacement.
Identifying what has been affected
Before and during the measurement visit, it is worth walking each opening with the installer and noting:
- whether the existing reveal is in good condition, painted or bare
- whether the architrave is original or has been replaced previously
- whether there are shadow lines on the wall from the old window’s size or profile
- whether external render, texture coat or mortar beds butt up to the existing frame
- whether any external trim, angle bead or sealant joint needs to be remade
This information directly affects the scope discussion, because a window that is the same size as its predecessor will leave less remediation work than one that changes the opening size or profile depth.
Internal finish restoration: who does it
Ask whether the proposed installer’s scope includes internal painting, filling and sanding. Where the new window matches the reveal depth and the reveal is undamaged, the finishing work required may be minimal. Where the reveal is split, the paint line is different, or the architrave profile has changed, additional trade work is likely to be needed. Ask your installer what finishing trades they consider appropriate for the specific conditions of your openings, and whether any of that work falls within their scope.
If the wall lining (plaster or plasterboard) has been disturbed near the opening, that is a separate scope again — typically a plasterer’s repair followed by painting.
Ask your installer explicitly:
- Is making good of the internal reveal and architrave included?
- If the wall lining is disturbed, who is responsible for plaster repairs?
- Does your quote include any internal painting?
If an item is not included in the proposal, clarify who will coordinate the appropriately qualified finishing trade and what timing is suitable for the actual installation and restoration work.
External finish restoration: a common gap
On brick veneer homes, the external face is typically flashed and sealed by the installer — this is an integral part of weathertight installation. For a rendered wall, ask which appropriately qualified trade will assess and restore any affected render, who coordinates that work and whether it is included in the installer’s proposal.
Similarly, if the external sill or head trim is painted timber and the new frame profile exposes an unpainted band, that is painting work rather than installation work. On cavity brick construction, any repointing or mortar-bed reinstatement around a changed opening size may require a bricklayer.
A useful question to ask is: what will the external face look like the day after installation, and what will still need to be done?
Separating scope in writing before the job starts
In South Australia, building contractors working on domestic building work above the relevant contract threshold are required to have a written contract, and that contract must state a fixed price and payment terms. The SA Government’s builder responsibilities page notes that written contracts must be clearly written and signed by both parties.
This means the scope boundary — what is and is not included — should be recorded in writing before the installation proceeds. A vague description of “making good” can leave different expectations; record the actual surfaces, finish standard and responsibilities rather than relying on a shared assumption.
If provisional sums are used for items like render patching (because the full extent is not known until removal), these should be identified in the contract as provisional rather than included at a fixed price.
Photographing finishes before installation
Taking your own photographs before the installation day is a practical step that costs nothing. Document:
- The existing internal reveal and architrave from each direction
- The existing external face, sealant and trim
- Any pre-existing cracks, paint peeling or shadow lines
This gives you a clear record of what was there before work started, which helps distinguish pre-existing condition from installation-related disturbance. It also helps any follow-up trades understand what the finished state needs to look like.
Matching existing finishes: a realistic question
One of the more challenging parts of restoration work is matching existing finishes — particularly paint colours, render textures and timber profiles — in an older home. Even a close colour match can look different on aged paint, and a renderer patching a 30-year-old acrylic texture coat may not be able to achieve an invisible result.
Scenario for discussion (illustrative only): Consider a home where the new window profile differs slightly from the original, leaving a narrow band of previously covered render exposed at the sill. The homeowner needs to clarify which party will assess the exposed finish, which restoration work is proposed and who coordinates any appropriately qualified follow-up trade. Whether the patch result meets the agreed finish standard — and how visible any difference in texture may be — is a question worth raising with both the installer and the renderer before the job starts, not after. If a finish outcome is disputed, a qualified professional assessment may be needed to determine whether the result meets contractual or workmanship standards.
Ask your installer whether the new window profile will expose any previously covered surfaces, and if so, what a realistic finish outcome looks like.
Agreed finish and follow-up
Once the scope, finish expectations and responsibility for each trade are agreed in writing, keep a record that includes:
- which trades will be needed after the installer finishes
- the agreed sequence of follow-up work
- who is responsible for coordinating follow-up trades — you or the installer
- what the agreed finish endpoint looks like for each surface, including any paint, render or trim restoration
- which items are included at a fixed price and which, if any, are recorded as provisional sums or exclusions
This record helps avoid disputes about what was agreed and gives any follow-up trades a clear brief. Ask your installer and any follow-up trades about appropriate timing between stages — for example, whether plaster or render needs to cure before painting can proceed.
For more on how the overall replacement process is scoped and documented, see our guide to the window replacement process in Adelaide. If you are preparing for a measurement visit, the window measurement visit preparation guide covers the questions worth raising on the day. For heritage or rendered homes where the external finish is particularly sensitive, replacing windows in heritage and brick homes in Adelaide covers the additional considerations.
If you would like to explore whether a referral to a window installer in Adelaide is available for your project, you are welcome to send an enquiry through the form on this site.
Further reading
- AGWA Guide to Residential Installation (Version 3), hosted by Southern Star Windows: southernstarwindows.com.au
- SA Government — Builder responsibilities (written contracts, domestic building work): sa.gov.au
- SA Government — Building work contractor’s licence: sa.gov.au